Hey there, tech fans! Welcome back to our VCF 9.0.1 Deployment Series. Today, we’re tackling the essential part: deploying VCF Operations for Logs. This is how you get all your juicy log data flowing!
Ready to dive in? Let’s go!Step 1: Gear Up with Binaries and Depot Setup
Before we start the actual deployment, we need to make sure we have all the necessary files, which means setting up our depot.
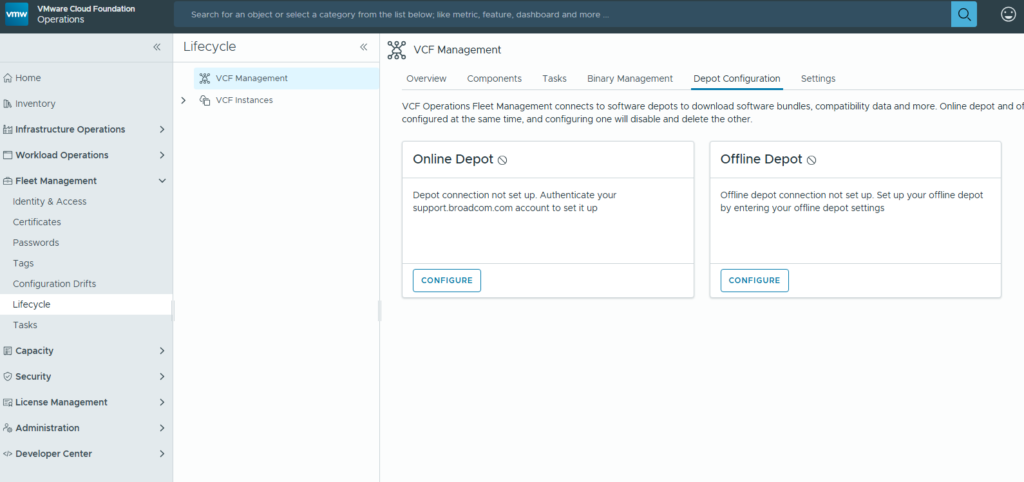
- Log in to VCF Operations and head over to Fleet Management -> Lifecycle -> VCF Management -> Depot Configuration.
- You have two choices here:
- Online Depot: Super easy if you have an internet connection.
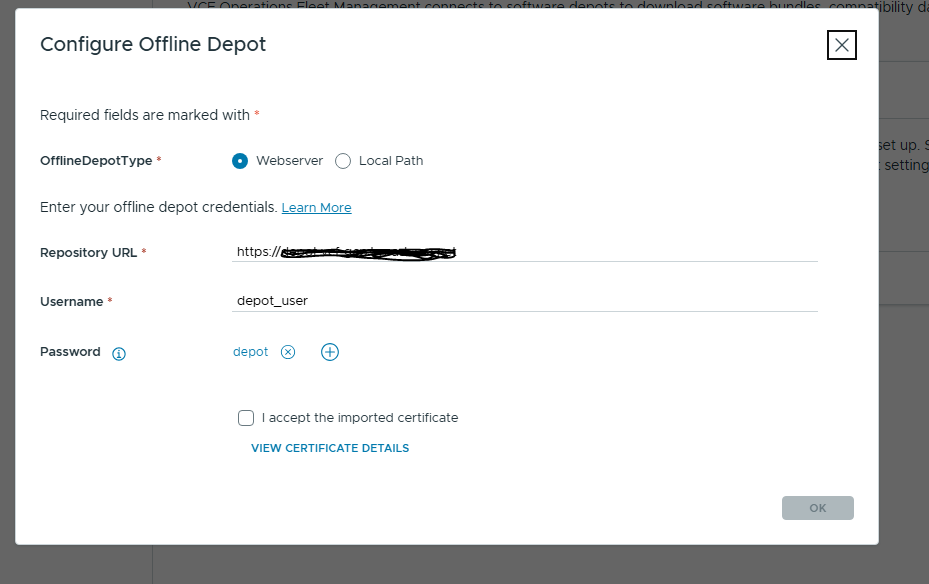
- Offline Depot: This is what I’m doing, using a web server.
- For the web server setup, enter your URL, username, and password. Remember to click the + icon next to the password field to add it securely (you can’t type it directly). Accept the certificate, and click OK.
Step 2: Download the Goods
Once your depot is configured (woohoo!), it’s time to grab the software we need.
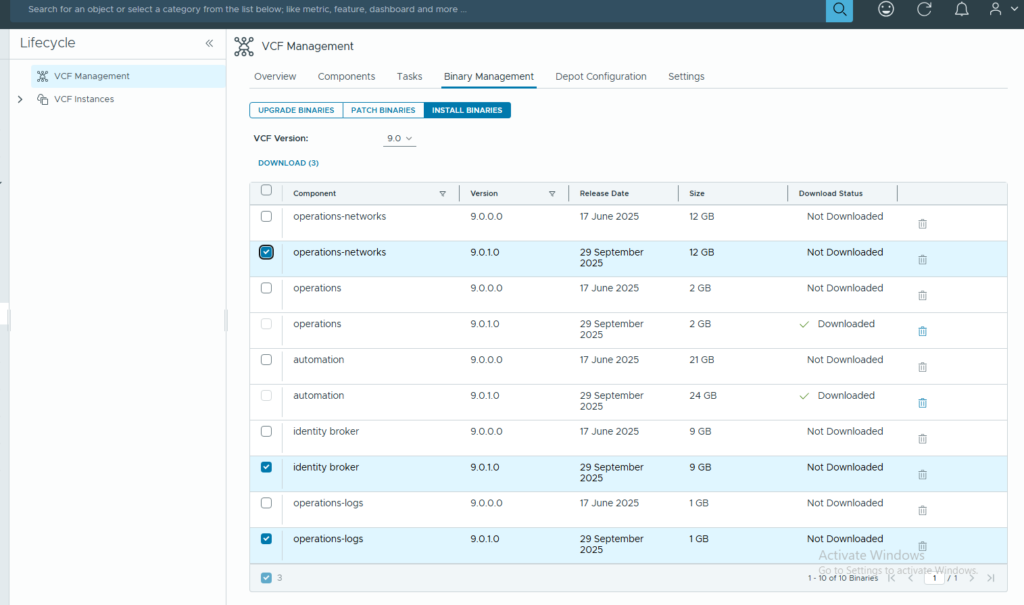
- Navigate to Binary Management -> Install Binaries.
- Find and download the operations-logs binaries.
Step 3: Adding the Component
Now for the main event—adding the Logs component itself!
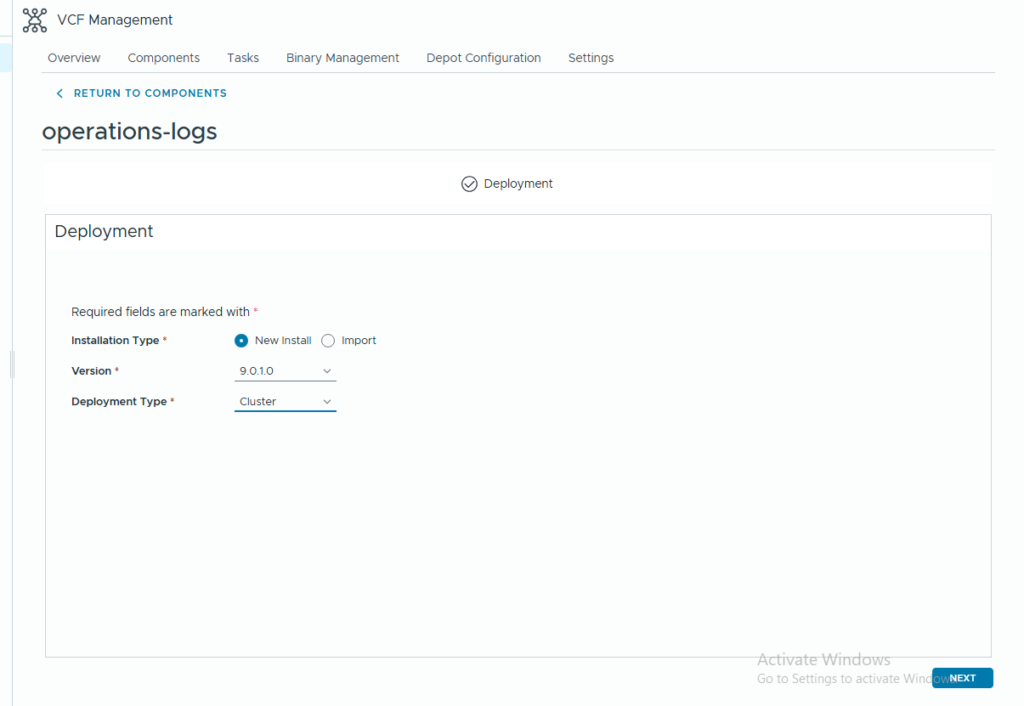
- Go to Components -> Add Component -> Operations-logs.
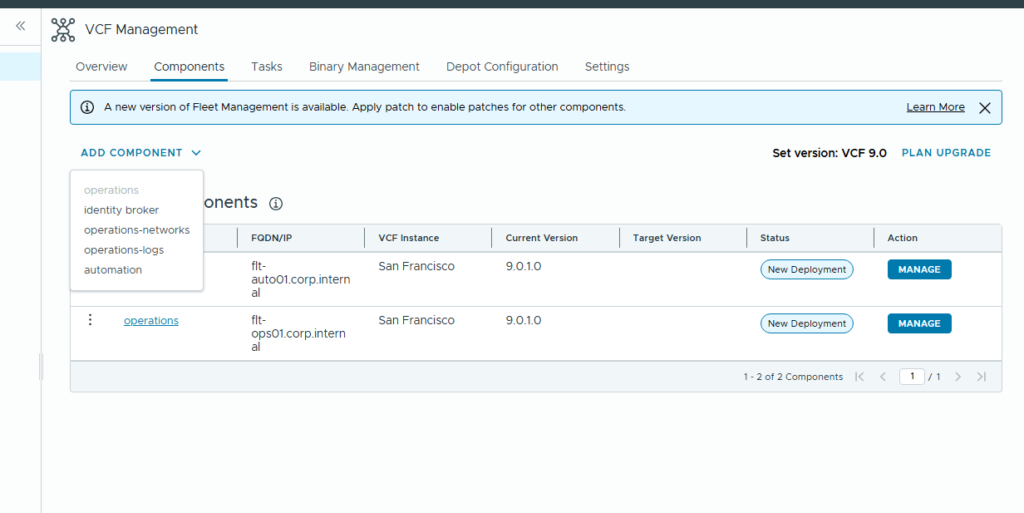
- You’ll need to choose a few things:
- Installation Type and Version
- Deployment Type:
- Cluster for high availability (requires three nodes)
- Standard for a simple, single-node setup.
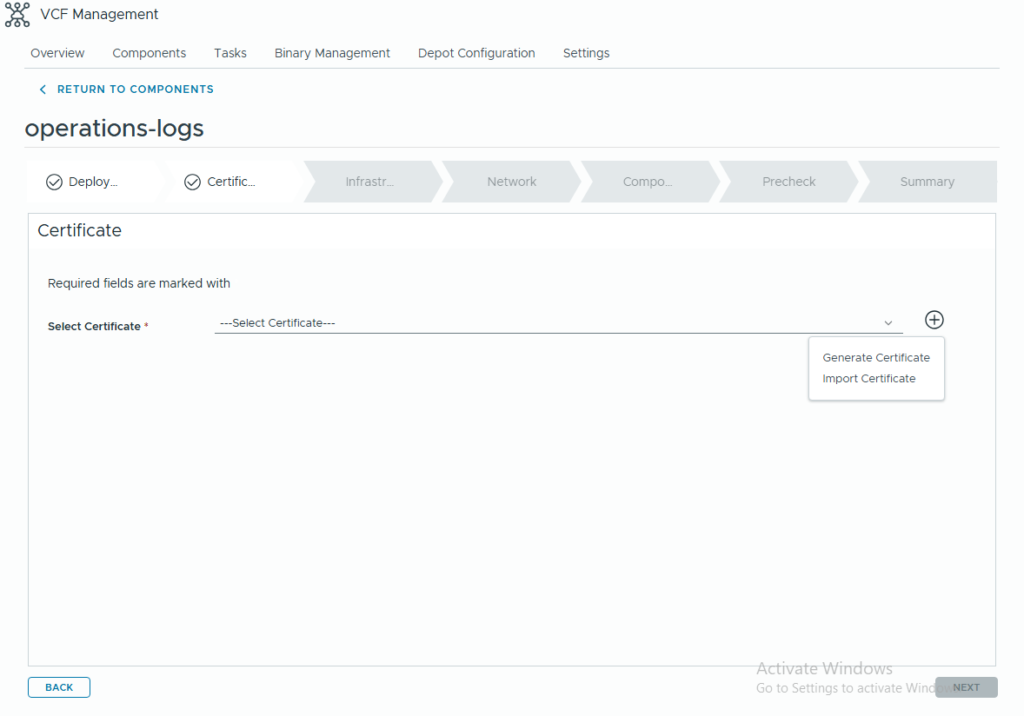
Step 4: Certificate Time!
Certificates are next on the list. For this initial deployment, I’m sticking with a self-signed cert.
- Click the + icon and select Generate certificate. (If you have a CA-signed cert, you can choose to import it).
- Fill in the details required to generate your certificate and click Generate.
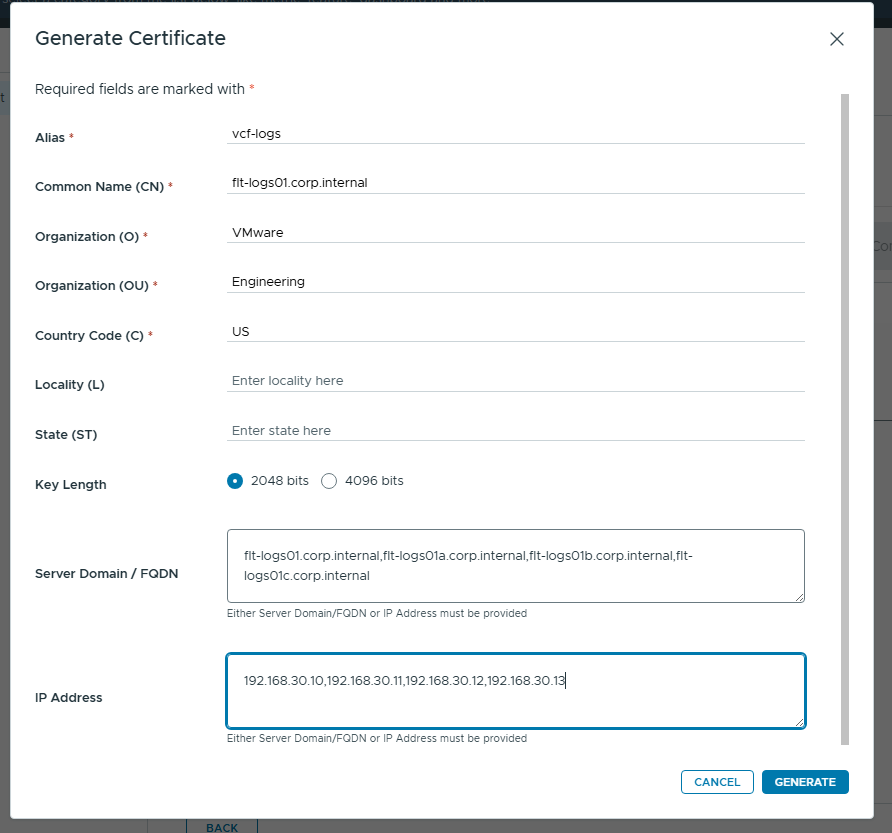
- Select your shiny new certificate (or the one you imported) and hit Next.

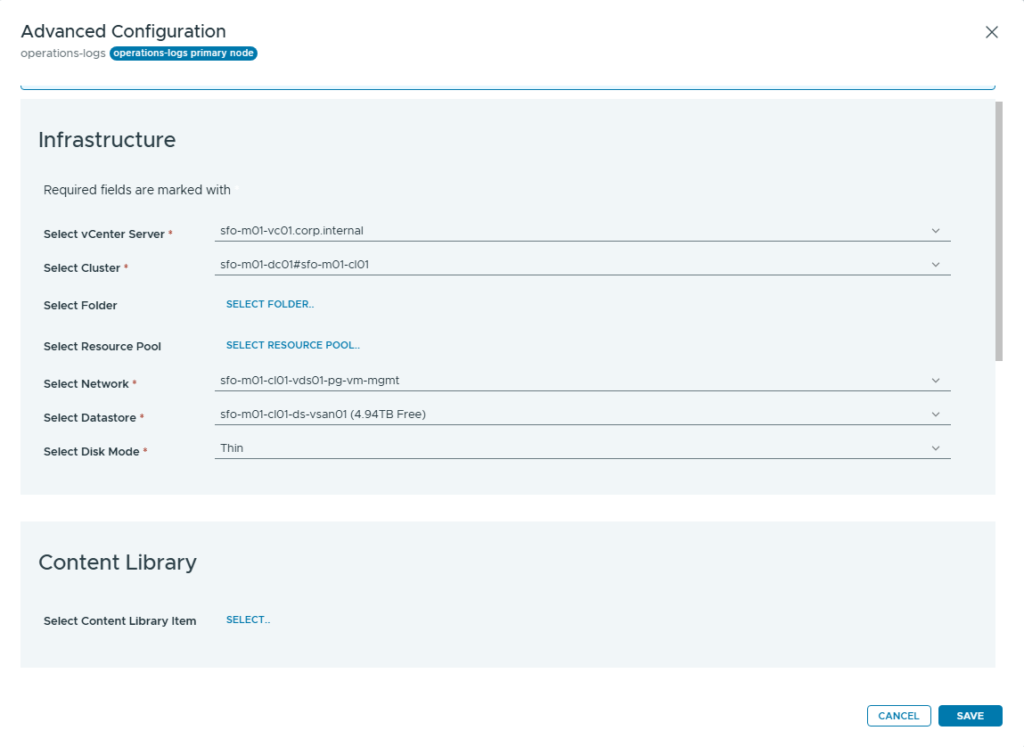
Step 5: The Infrastructure Deep Dive
This is where we connect everything to your existing environment.
- Select your Management vCenter, cluster, the appropriate network (usually your VM management or fleet network), and the Datastore.
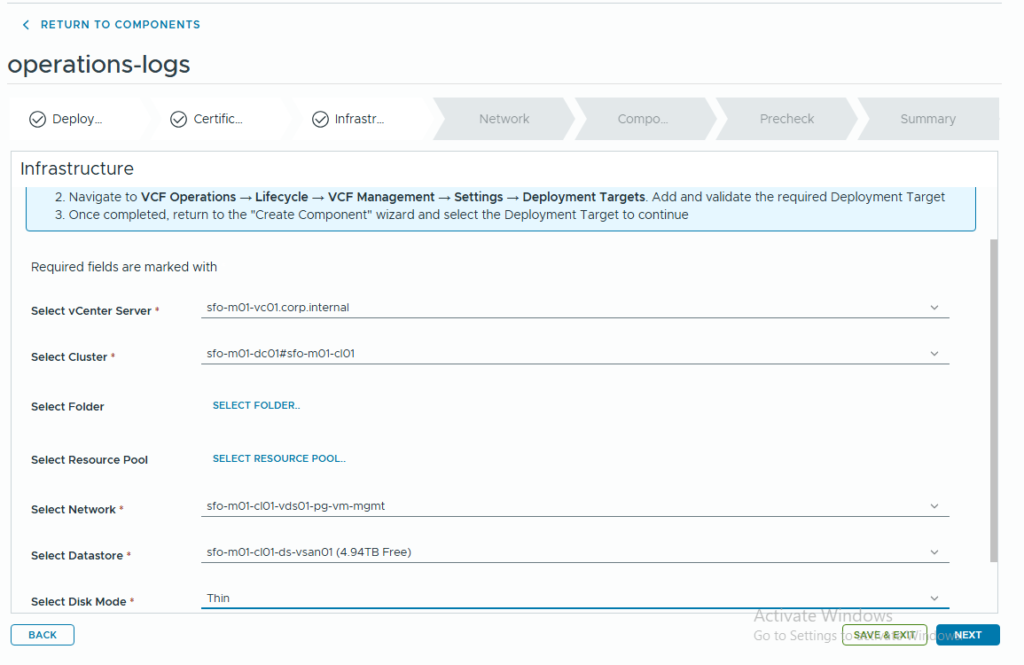
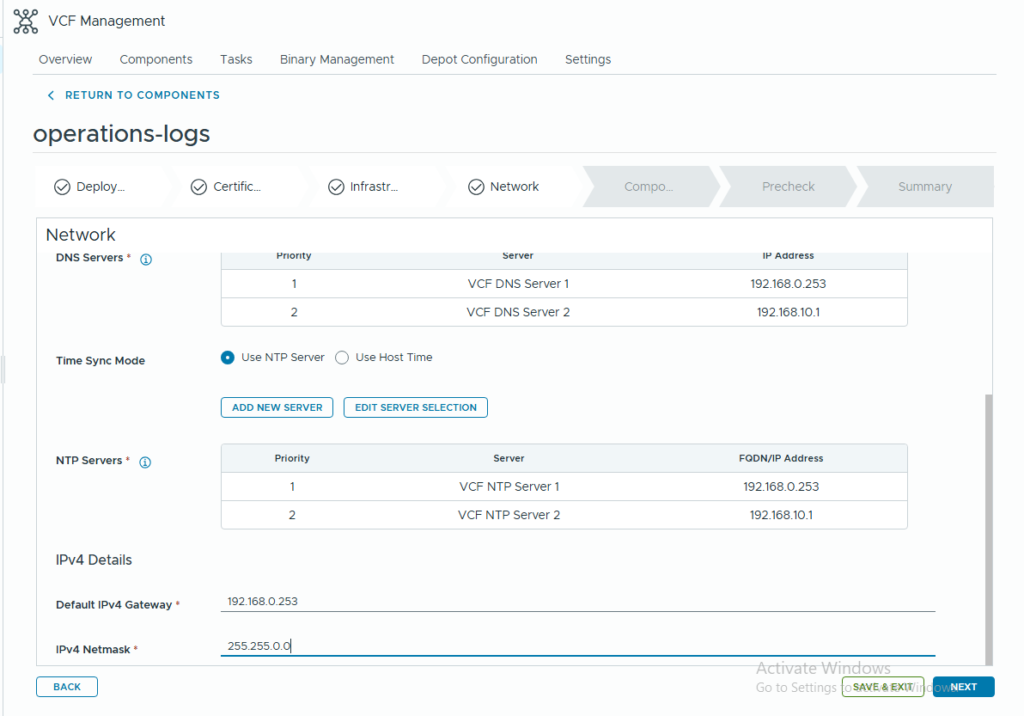
- Next, configure the network details for the VLAN where the logs component will live: DNS, NTP, Gateway, and Network mask.
Step 6: Sizing, Affinity, and Passwords
Almost there! Let’s handle the final configuration settings.
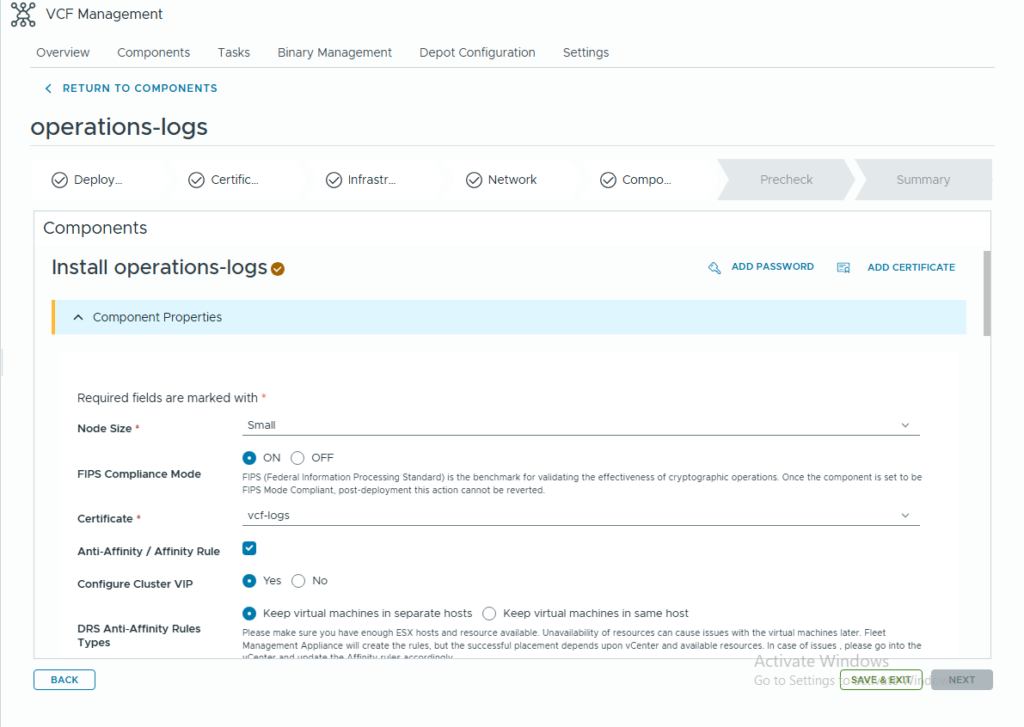
- Choose your node size (small, medium, or large) based on your environment’s needs.
- Turn on FIPS if required.
- If you’re deploying a cluster, set up an Affinity rule to keep the component VMs on separate hosts for resilience.
- Crucially, click the Add Password button in the top right to create new passwords for both the admin and root accounts.
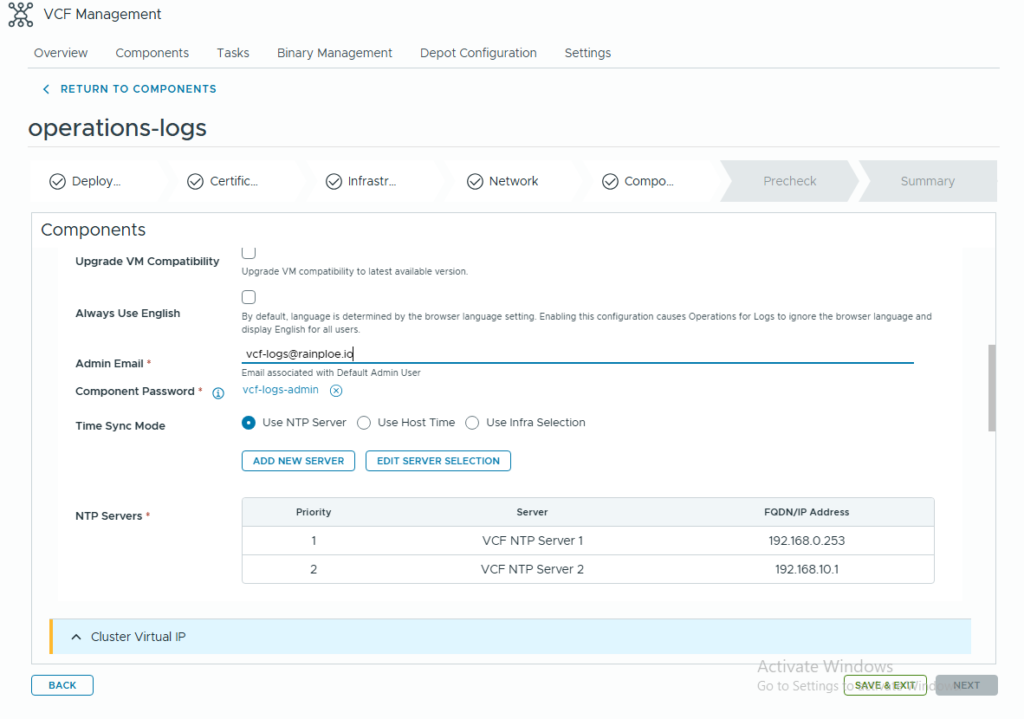
- Enter an email for the admin account, select the newly created admin password for the component password, and specify your NTP server.
Step 7: Component Details
Time to give your new VMs their identity!
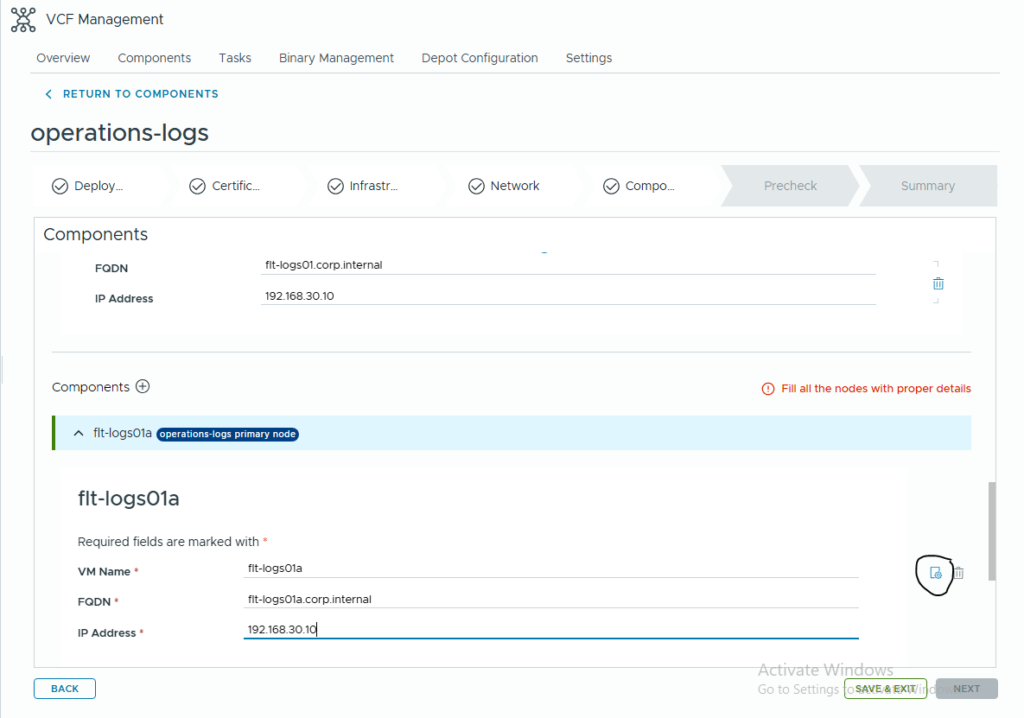
- Enter the component details: VM name, FQDN, and IP address.
- Click the settings icon on the right to configure advanced details like specifying the datastore for each VM and setting the root password.
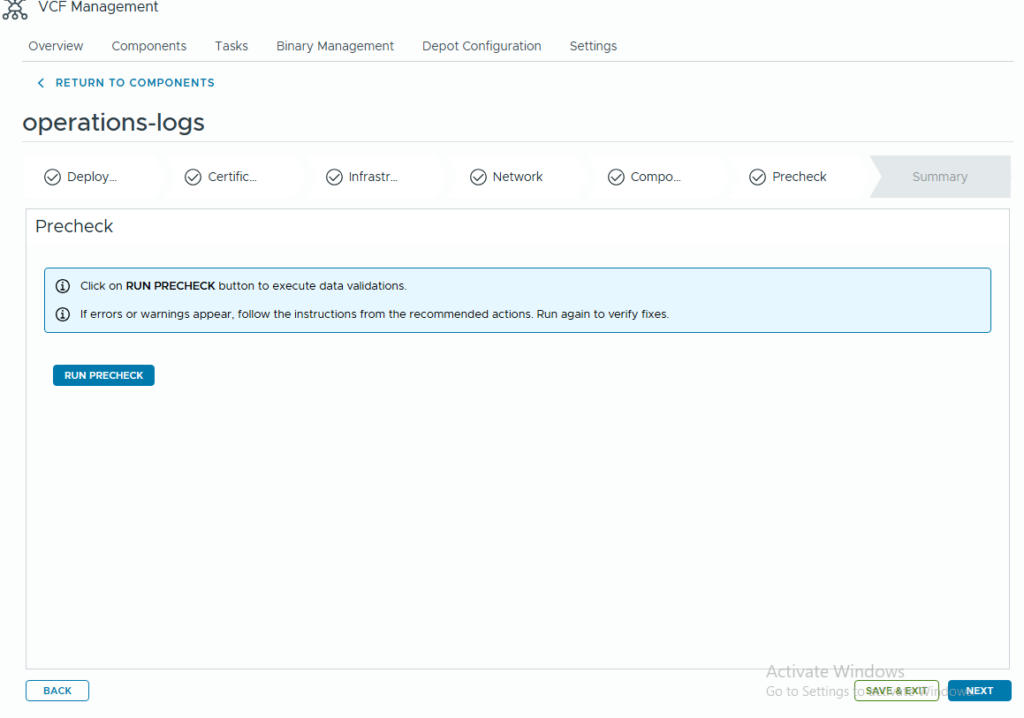
Step 8: Final Checks and Launch!
You’ve done the hard work! Now let the system check everything.
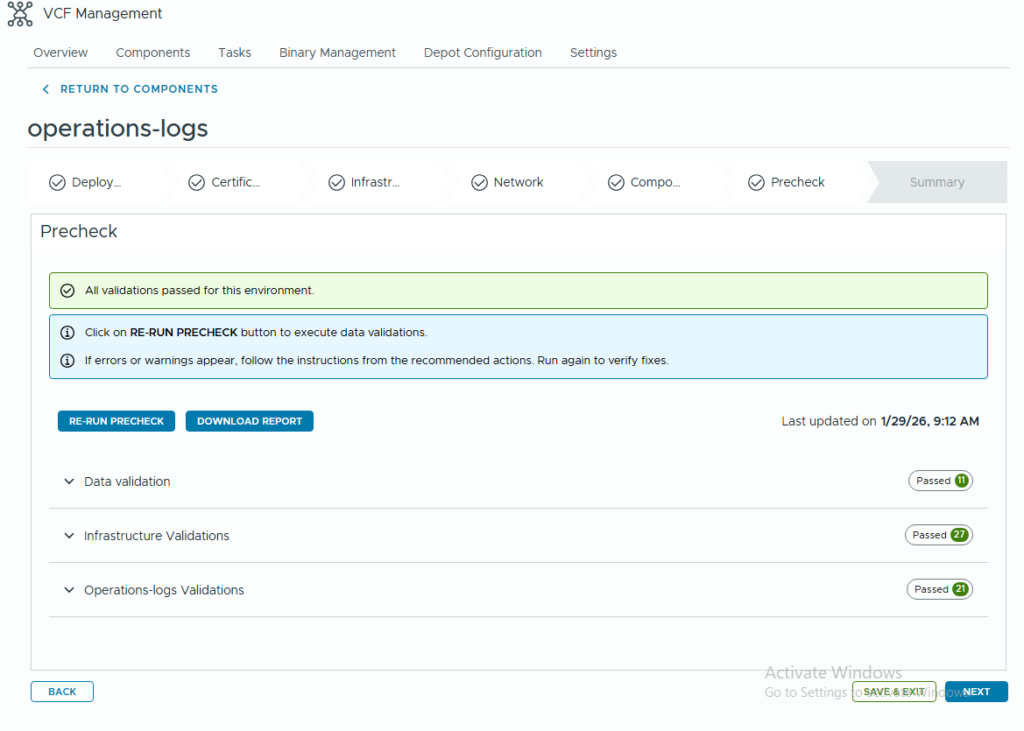
- Hit Run Precheck and wait for the system to confirm everything is good to go.
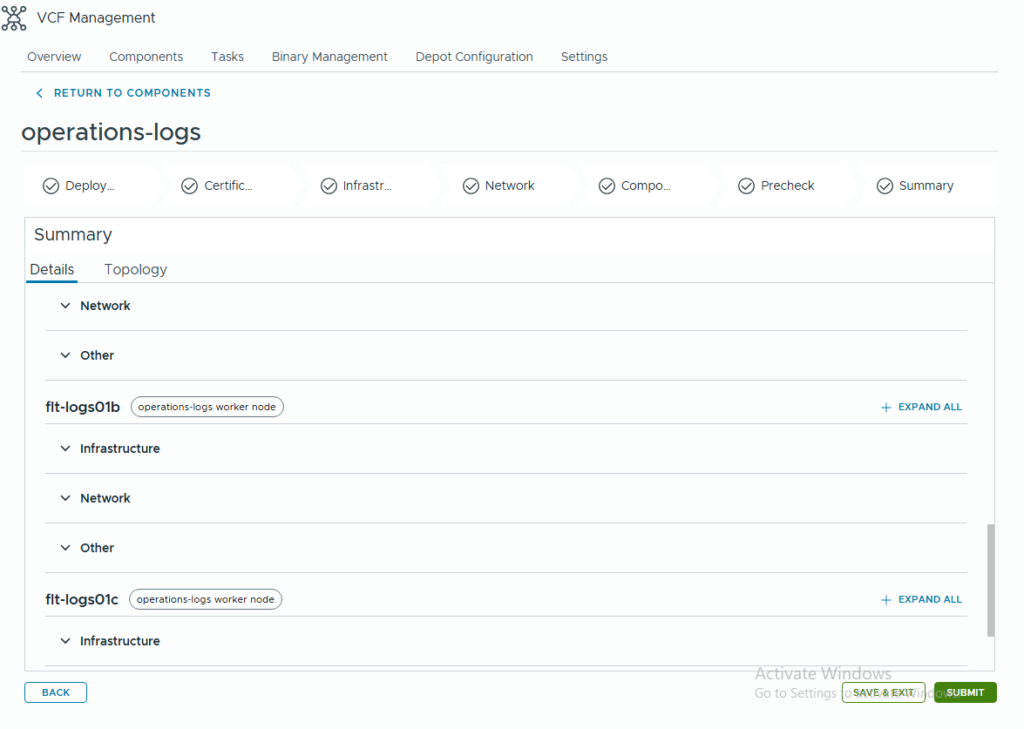
- Validate the Summary page to make sure it all looks correct.
- Click Submit!
And that’s it! You’ve successfully deployed VCF Operations for Logs. Happy logging!