Hey there, VCF enthusiasts!
We’re back with Part 4 of our VCF 9.0.1 deployment journey. In the previous posts, we tackled the core VCF components. Now, it’s time to move the management plane into its own network—a key best practice for a smooth-running VCF environment! We’re doing all this magic straight from the SDDC Manager.
The SDDC Manager is the MVP here, handling the deployment of VCF Operations (including the collector), Fleet Management, and VCF Automation. After these are in place, we’ll deploy the rest of the components from VCF Operations itself.
Ready to roll? Let’s dive into the steps!
SDDC Manager Pre-Game
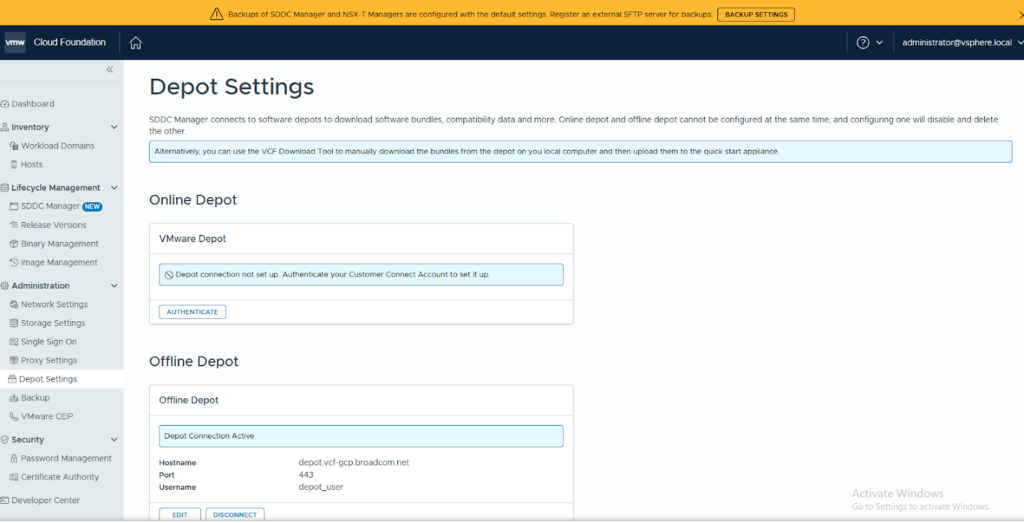
- First things first: Log in to your SDDC Manager and make sure your Depot is active. We need those binaries ready!
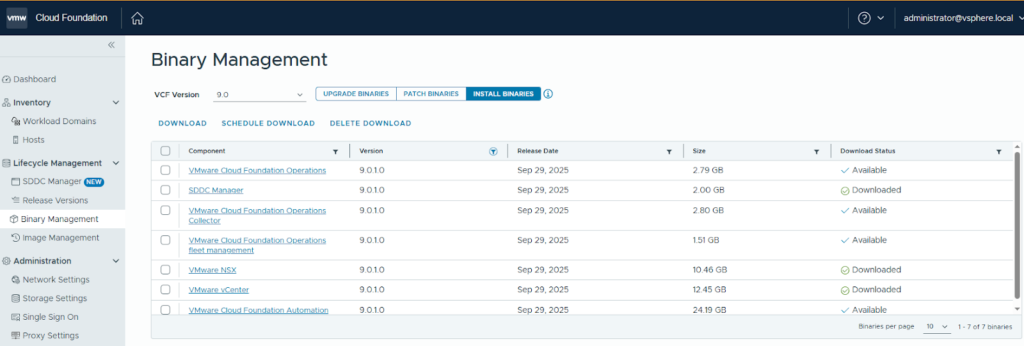
- Grab the Goods: Head over to Binary Management -> Install Binaries. Filter by version 9.0.1 and download the necessary files: VCF Automation, Fleet Management, Operations, and Operations Collector. Think of this as getting your software shopping done!
API Time: Deploying the Fleet
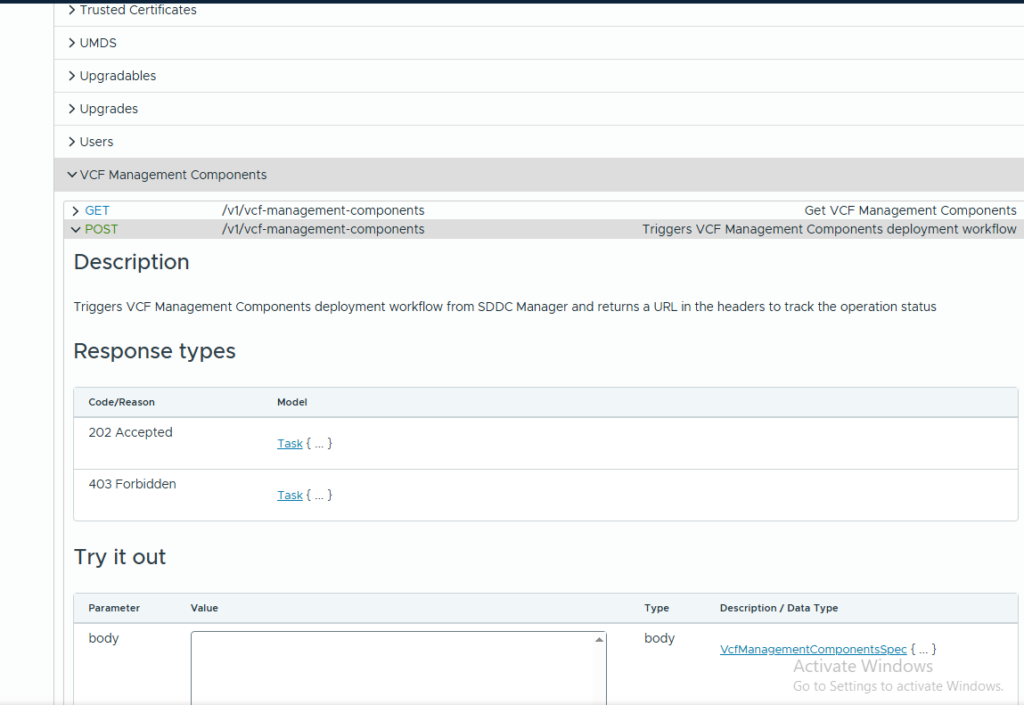
- The JSON Blueprint: Navigate to the Developer Center and look under VCF Management Components. This is where you’ll find the API call to deploy your components. You can grab the raw JSON format here, or (even easier!) use the VCF JSON generator tool we talked about in an earlier post.
- Validate Your Plan: Once your JSON file is generated with all the configuration details, jump over to the Validation API and paste in your JSON content.
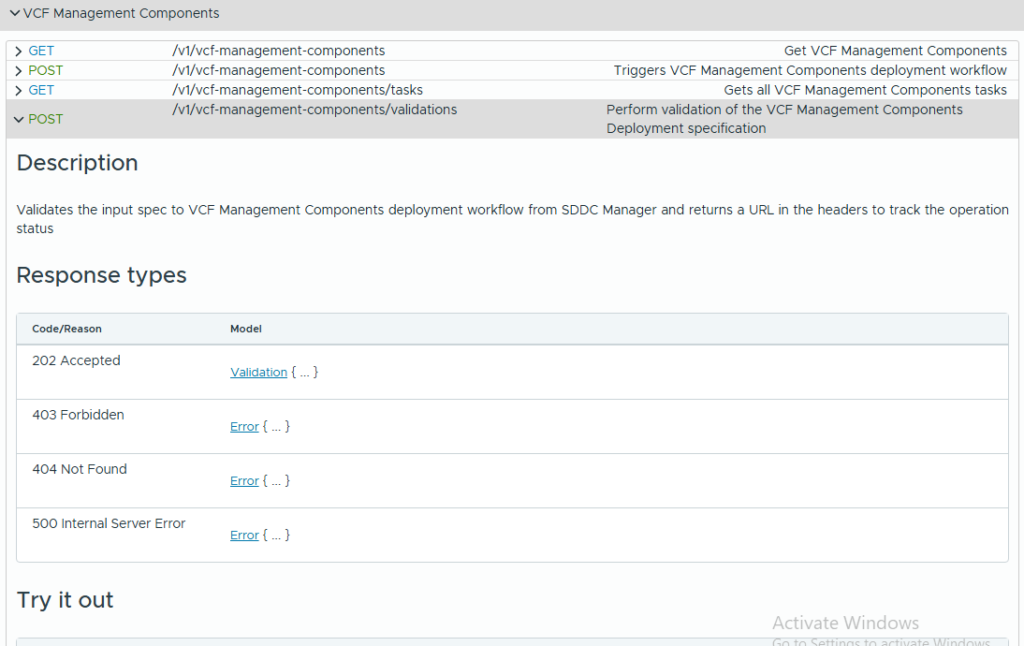
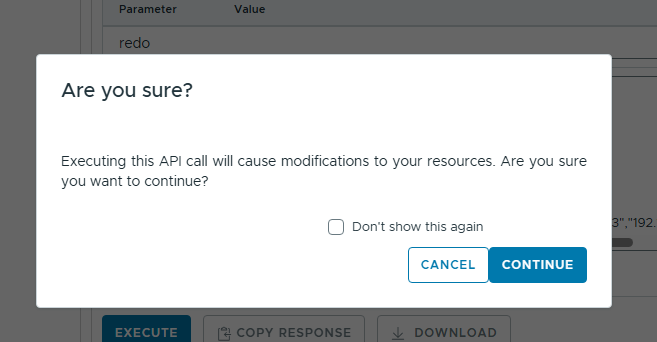
- Confirm and Go: You’ll get a confirmation prompt—click Continue to start the validation process.
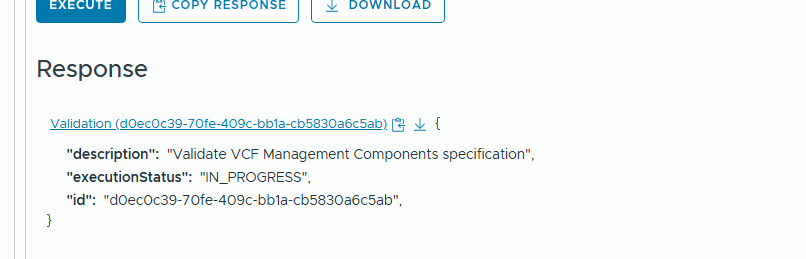
- Get Your ID: The Validation API will spit out an ID. Don’t lose it! Copy this ID; it’s your ticket to checking the results.
- Check the Report Card: Now, hit the Validation Results GET API and paste in the ID you got in Step 6.
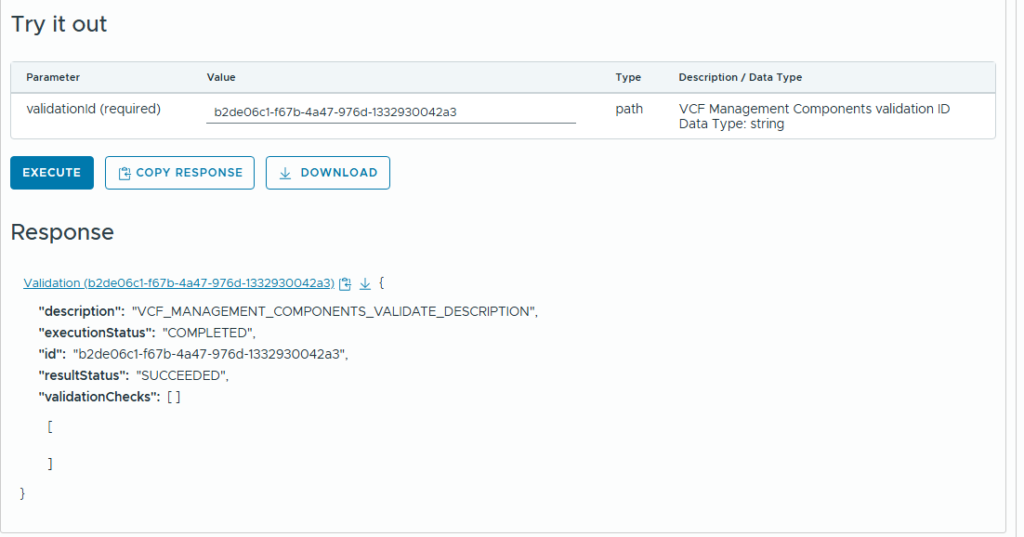
- Tweak if Needed: You’ll see the validation result. If it failed (it happens!), expand the output, and it will clearly tell you why. Fix the issue in your JSON and re-validate.
- Deployment Trigger: Once that validation is a success, you’re clear for takeoff! Copy your successful JSON content and paste it into the POST call. This kicks off the actual deployment of your VCF fleet components.
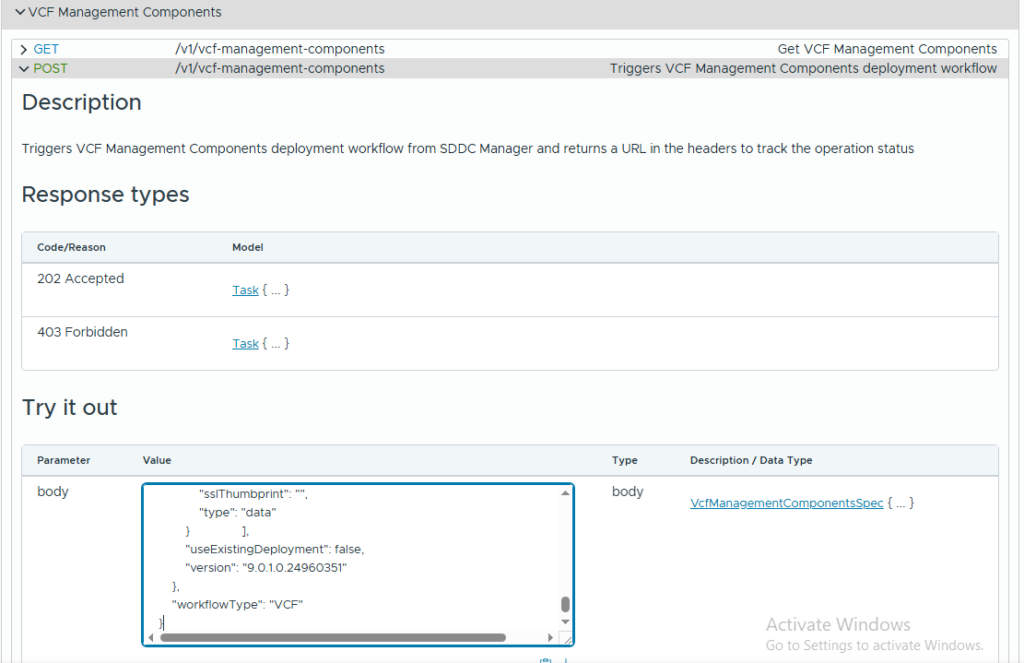
- Task Tracker: As soon as the API call is invoked, you’ll get a new task ID—this is what you’ll use to track the deployment status.
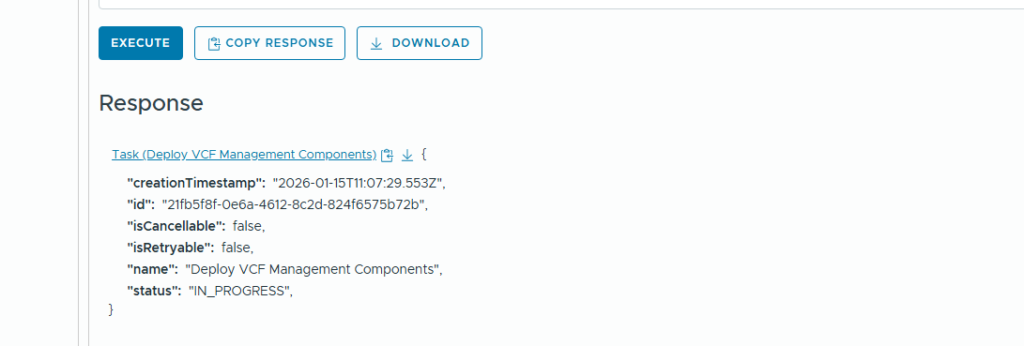
- Status Check: Copy the ID from Step 10 and enter it into the appropriate API call to watch your deployment progress.
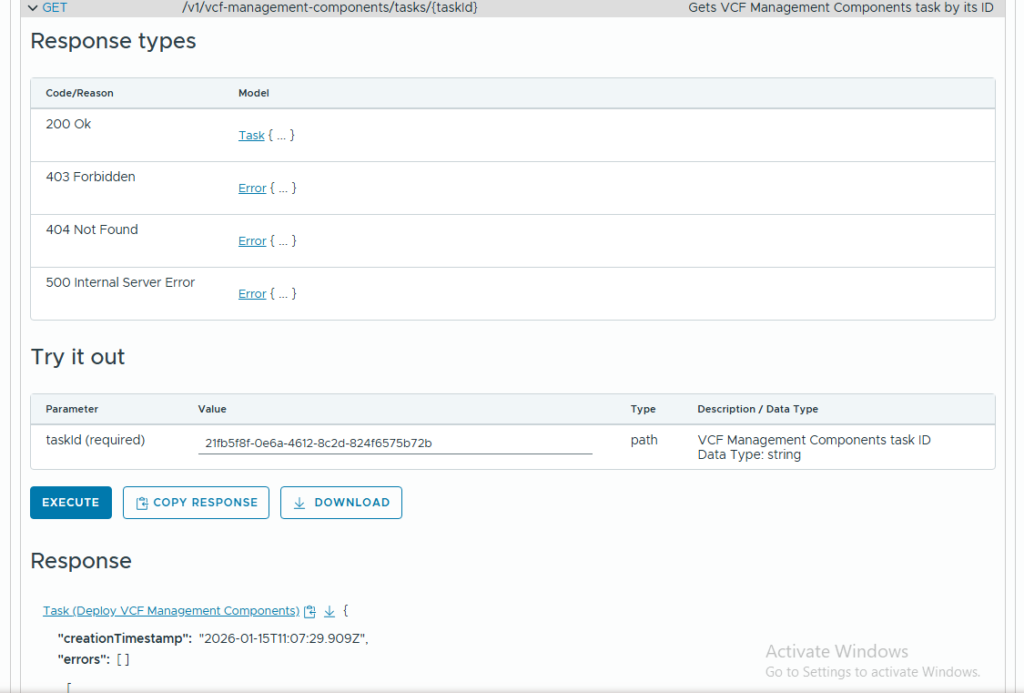
Once that sweet “Success” message pops up, you can log into VCF Operations and start managing your VCF environment like a pro!
Stay tuned! In the next blog post, we’ll walk through deploying the rest of those crucial fleet management components. Happy deploying!